
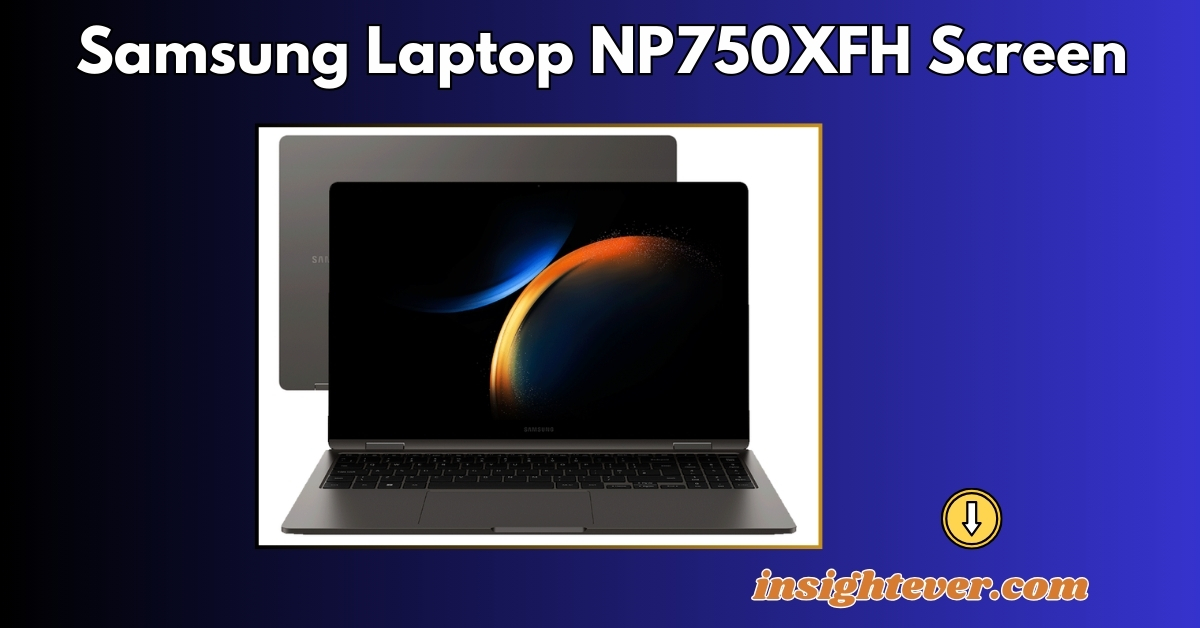
Laptops are indispensable tools in today’s digital age, especially for work, school, or entertainment. Among various brands, Samsung has established itself as a reputable manufacturer, delivering quality and performance across its devices. However, like any electronic device, laptops are prone to wear and tear, and one of the most vulnerable parts is the screen. The Samsung Laptop NP750XFH is no exception, with users occasionally encountering issues that necessitate a screen replacement.
Whether it’s due to a cracked display, malfunctioning pixels, or general wear, knowing how to replace the screen can save you from costly repairs or the inconvenience of sending your laptop to a technician. In this comprehensive guide, we will walk you through the entire Samsung Laptop NP750XFH screen replacement process, from diagnosing the problem to successfully installing a new screen. We’ll also cover important tips to ensure the procedure goes smoothly.
Why Would You Need to Replace Your Samsung NP750XFH Laptop Screen?
Laptop screens can get damaged or malfunction for various reasons. Before jumping into how to replace the screen, it’s important to understand the signs that indicate you may need a new display:
- Physical Damage: Cracks or visible damage to the screen, often caused by drops or impacts.
- Dead Pixels: Small black or white spots that don’t change color can indicate dead pixels.
- Backlight Issues: A dim or flickering screen suggests a problem with the backlight.
- Discoloration: Strange colors or distortion in the display could signal an issue with the LCD.
- Touch Screen Problems: If your laptop has a touch screen and it becomes unresponsive or erratic, screen replacement may be required.
If any of these problems are affecting your Samsung NP750XFH laptop, it’s time to consider a screen replacement.
Preparation Before Starting the Screen Replacement
Before you jump straight into replacing your Samsung NP750XFH laptop screen, there are a few important steps to take:
1. Back Up Your Data
Replacing a screen involves opening up your laptop, which, in rare cases, can result in data loss if something goes wrong. To protect your data, it’s important to back up your files either to an external hard drive or a cloud-based service.
2. Gather the Necessary Tools
You will need some basic tools to replace the screen. Here’s a list of what you’ll need:
- A new Samsung NP750XFH laptop screen (specific to the model)
- A small Phillips screwdriver
- A plastic pry tool or spudger
- Tweezers (optional)
- Anti-static wrist strap (optional but recommended)
- A soft cloth or anti-static mat to place your laptop on
3. Power Off and Unplug the Laptop
Always ensure that your laptop is completely powered off before attempting any repairs. Unplug the laptop from any power source and remove any connected peripherals.
4. Disconnect the Battery
If possible, disconnect the internal battery to eliminate any risk of shortcircuiting. Some laptops, like the Samsung NP750XFH, may have non-removable batteries, in which case you’ll need to be extra cautious when handling the device’s internal components.
Step-by-Step Guide to Replacing the Samsung NP750XFH Laptop Screen
Now that you’ve prepared, it’s time to start replacing the screen on your Samsung NP750XFH laptop. Follow this step-by-step guide to ensure a smooth and successful process.
Step 1: Remove the Bezel
The bezel is the plastic frame that surrounds the screen. Here’s how you can remove it:
- Turn off the laptop and place it on a flat, soft surface to prevent scratching the device.
- Locate the screws that are holding the bezel in place. These screws are often hidden beneath small rubber covers.
- Remove the rubber covers using tweezers or a plastic pry tool to avoid damaging the surface.
- Use a small Phillips screwdriver to remove the screws.
- Once the screws are removed, gently pry off the bezel using a plastic pry tool. Start at one corner and carefully work your way around the edges to loosen the bezel.
Be patient during this step, as forcing the bezel off can cause damage.
Step 2: Detach the Broken Screen
With the bezel removed, you will now have access to the damaged screen.
- Locate the screws or clips that are securing the screen to the metal brackets.
- Use your screwdriver to carefully unscrew the screen from these brackets.
- Slowly tilt the screen forward, but do not pull it away completely, as it’s still connected to the laptop via a video cable.
- Disconnect the video cable by gently lifting the adhesive tape and pulling the connector away from the back of the screen.
Now, the damaged screen should be completely detached from your laptop.
Step 3: Install the New Screen
With the old screen out of the way, it’s time to install the new one. Be sure you have the correct replacement screen that’s compatible with the Samsung NP750XFH.
- Attach the video cable to the back of the new screen. Make sure it’s properly aligned, and press down firmly to secure the connection.
- If there’s any adhesive tape on the cable, press it back down to hold the connection in place.
- Position the new screen back into the laptop’s frame, carefully aligning it with the metal brackets.
- Secure the new screen with the screws you removed earlier. Ensure the screen is stable and doesn’t wobble.
Step 4: Reattach the Bezel
With the new screen installed, it’s time to reattach the bezel:
- Carefully position the bezel back around the screen, making sure all the clips snap back into place.
- Replace the screws that hold the bezel in place and cover them with the rubber pads.
- Give the edges of the bezel a gentle press to ensure it is completely secure.
Step 5: Power On the Laptop
Now that the replacement process is complete, it’s time to test your new screen. Here’s how to proceed:
- Reconnect the battery if you disconnected it earlier.
- Plug the laptop back into its power source and turn it on.
- If the new screen lights up and functions correctly, you’ve successfully replaced your Samsung NP750XFH screen.
Common Problems You Might Encounter
During or after the screen replacement process, you might encounter a few common issues. Here’s a quick guide on how to address them:
1. The New Screen Doesn’t Turn On
If the screen stays black or doesn’t power on, there are a few potential causes:
- Ensure the video cable is securely connected. A loose connection can prevent the screen from powering on.
- Check for any damage to the cable or connectors. If the video cable is damaged, it may need to be replaced.
- Verify that the laptop is receiving power. Double-check the power adapter and ensure the battery is properly connected.
2. The Display Shows Lines or Flickers
If the screen is displaying lines or flickering after the replacement, it could indicate:
- The video cable is not properly seated. Disconnect and reconnect the cable, ensuring a firm connection.
- The screen is defective. Test the screen by connecting your laptop to an external monitor. If the external display works fine, the new screen may need to be replaced.
3. Touch Screen Issues
If your Samsung NP750XFH has a touch screen and it’s not responding after the replacement:
- Check the touchscreen connector, if applicable, to ensure it’s properly connected.
- Verify that the drivers for the touch screen are properly installed and up to date.
How to Buy the Correct Replacement Screen
One of the most important parts of this process is ensuring you buy the correct replacement screen for your Samsung NP750XFH laptop. Here are a few tips to help you with the purchase:
1. Identify Your Laptop’s Model Number
It’s crucial to know the exact model number of your laptop to ensure you purchase the right replacement screen. In this case, you’ll be looking for a screen compatible with the Samsung NP750XFH model. You can usually find the model number on the bottom of your laptop or in the settings under the “About” section.
2. Choose the Correct Specifications
When shopping for a replacement screen, make sure to match the following specifications:
- Screen Size: Measure the diagonal size of your screen (typically in inches).
- Resolution: Ensure the resolution of the replacement screen matches the original (e.g., Full HD, 1920×1080).
- Screen Type: Choose between matte and glossy finishes, depending on your preference.
- Touch or Non-Touch: If your Samsung NP750XFH has a touch screen, ensure you purchase a replacement screen with touch capabilities.
3. Purchase from a Reputable Seller
To avoid counterfeit or defective products, always purchase from reputable retailers. Online marketplaces like Amazon, eBay, or specialized laptop parts stores can be good options, but be sure to read reviews and confirm compatibility.
Tips for a Successful Samsung NP750XFH Screen Replacement
Replacing your laptop screen can be intimidating, especially if it’s your first time. Here are some expert tips to ensure the process goes smoothly:
1. Take Your Time
Don’t rush through the steps. Carefully follow the instructions to avoid damaging other parts of your laptop.
2. Use a Magnetized Screwdriver
The screws holding your laptop together are small and easy to lose. A magnetized screwdriver will make it easier to remove and replace them without dropping them into the laptop’s interior.
3. Keep Track of the Screws
As you disassemble the laptop, keep track of the screws by placing them in separate containers. This will make reassembly easier and prevent confusion.
4. Ground Yourself
Static electricity can damage your laptop’s internal components. Use an anti-static wrist strap to ground yourself before touching any internal parts.
Conclusion:
Replacing the screen on a Samsung Laptop NP750XFH Screen may seem like a daunting task, but with the right tools, preparation, and guidance, it’s something you can do yourself, saving time and money. By following the step-by-step guide outlined above, you’ll be able to diagnose your screen issue, gather the necessary materials, and successfully complete the replacement process.
Remember to take your time, be patient, and double-check your connections. With a little effort, your laptop will be up and running again with a brand-new screen, allowing you to continue working, gaming, or browsing without interruption.
Also Read: TurboGeek.org: Revolutionizing Tech Knowledge for Enthusiasts and Professionals